
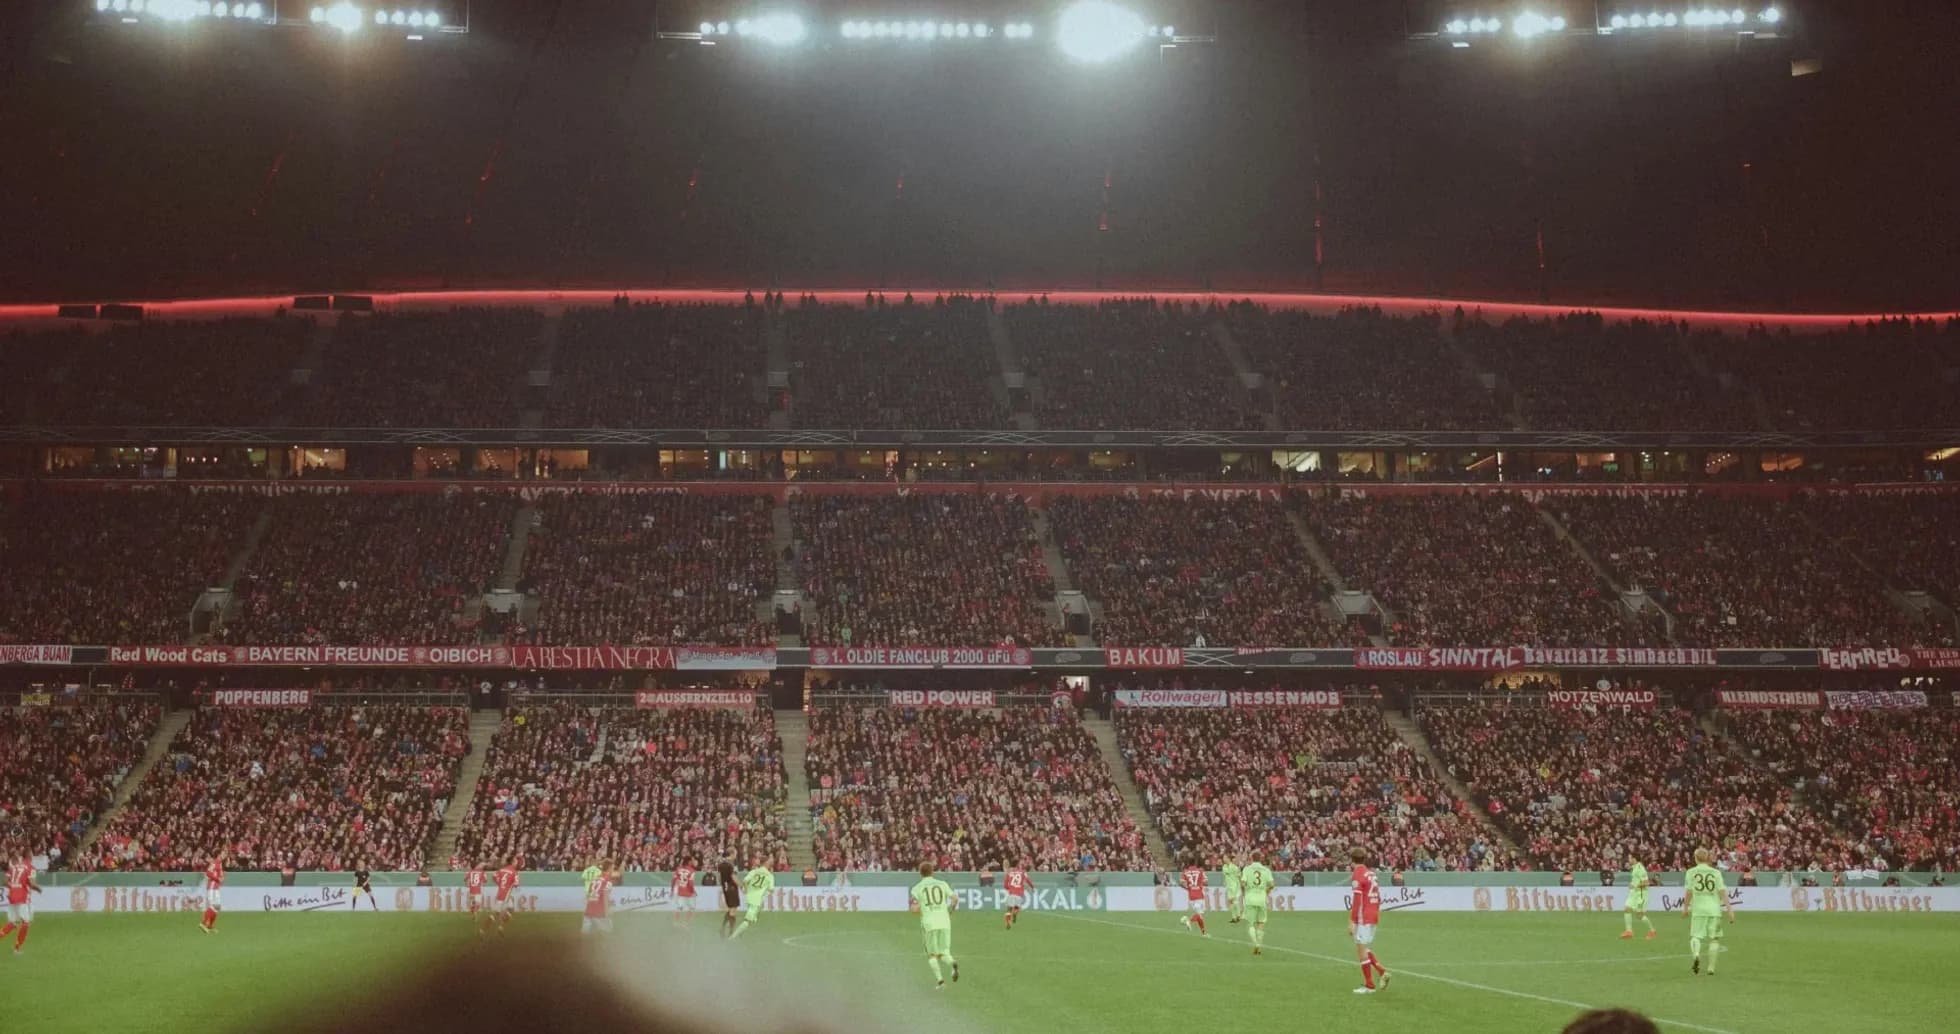
Hammarby FF vs Anderlecht: Tactical Analysis of UEFA Europa League Draw
Hammarby FF’s 1-1 draw with Anderlecht at 3Arena in the UEFA Europa League 2nd Qualifying Round was a tactical arm-wrestle that swung on structure, game state, and a late numerical advantage. Anderlecht’s early goal allowed them to collapse into a compact 4-4-2 block, while Hammarby’s 4-3-3 gradually tilted the pitch, turning territorial and shot volume superiority into a deserved late equaliser.
Anderlecht struck first on six minutes: D. Sikan finished a move that immediately reframed the contest. From that moment, Vitor Bruno’s side were content to play the away side’s textbook in Europe—lower volume but high defensive control. Their 4-4-2 out of possession narrowed centrally, with K. Nga and N. Saliba tucking inside to screen passes into Hammarby’s midfield triangle of T. Tekie, M. Karlsson, and V. Lind. M. Kana, nominally listed as a defender, functioned as a holding presence in the central band, giving Anderlecht a quasi 4-1-3-2 when they dropped deep.
Hammarby’s 4-3-3 was built to dominate the ball and territory, and the statistics confirm they did: 56% possession, 12 total shots and 6 shots on goal to Anderlecht’s 6 total and 4 on goal. The back four of H. Skoglund, V. Eriksson, F. Winther, and N. Persson held a relatively high line, compressing the field to keep Anderlecht’s front two from receiving cleanly between the lines. With the ball, full-backs pushed, especially Skoglund on the right, to give width while the front unit of M. Madjed, N. Besara, and P. Abraham rotated between half-spaces and wide channels.
The early Anderlecht lead forced Hammarby to accelerate their possession rhythm. Tekie was the primary metronome, dropping close to the centre-backs to initiate build-up and trying to pull Anderlecht’s first pressing line out of shape. However, Anderlecht’s 4-4-2 press was selective: they rarely committed both forwards high for long spells, preferring to protect the middle and invite Hammarby to circulate wide, then lock the ball against the touchline.
In this context, the battle between Hammarby’s interior midfielders and Anderlecht’s narrow band of four was decisive. Madjed and Besara often received between the lines but were quickly crowded by Saliba and Llansana stepping out from midfield, with the back four—L. Augustinsson, G. Biancone, L. Petrot, and A. Maamar—holding a compact shape to deny through balls into Abraham. The lack of recorded free kicks for either side underlines how much of this duel was about positioning and interception rather than constant tactical fouling.
As the match wore on, Hammarby’s structural superiority in possession began to translate into territorial pressure. Five corner kicks to Anderlecht’s two reflect that shift: the home side were able to pin Anderlecht back, recycle second balls at the edge of the box, and sustain attacks. Anderlecht, with only six total shots and four on goal, increasingly leaned on quick vertical transitions rather than extended spells on the ball, trying to exploit the space behind Hammarby’s advanced full-backs through Sikan’s runs and J. Onia Seke’s movement.
The turning point was not purely tactical but disciplinary. Nathan-Dylan Saliba’s yellow at 24’ hinted at the intensity of Anderlecht’s midfield work; his second yellow and subsequent red at 78’ shattered their numerical balance. Reduced to ten men, Anderlecht could no longer maintain the same lateral coverage in midfield. Their 4-4-2 effectively became a 4-4-1, with deeper and narrower lines, conceding even more possession and territory to Hammarby.
Kalle Karlsson’s use of substitutions was tailored to exploit that advantage. The introduction of O. Johansson for N. Besara at 75’ refreshed the attacking midfield zone with legs and directness. Later, at 86’, F. Adjei (IN) came on for V. Lind (OUT), a clear attacking tilt from the bench. Adjei’s role was to attack the half-spaces and box with more aggression, and that move paid off almost immediately.
On 89 minutes, the equaliser arrived: F. Adjei scored for Hammarby FF, assisted by P. Abraham, capping the strategic shift. It was the logical outcome of sustained pressure—Hammarby’s sixth shot on goal finally beat C. Coosemans, whose Anderlecht side had been forced into a low block by the red card and the cumulative weight of defending. The late goal also underlines how Hammarby’s structure allowed them to maintain shot quality and volume late in the game, while Anderlecht’s reduced midfield screen could no longer protect the central spaces as effectively.
Defensively, Hammarby’s two yellow cards—picked up by centre-backs Frederik Winther and Victor Eriksson—reflect the risk of holding a high line against a counter-oriented opponent. Those bookings suggest moments where the central defenders had to break Anderlecht transitions at source, accepting disciplinary risk to protect W. Hahn’s goal. Conversely, Anderlecht’s three yellows and one red, all within their defensive block, show a side increasingly stretched and forced into reactive interventions as they tried to defend their lead.
Statistically, the match tells a coherent tactical story. Hammarby’s 56% possession, 12 total shots and 6 on goal, plus their 5 corners, describe a team structurally on the front foot, especially after falling behind early. Anderlecht’s 44% possession, 6 total shots and 4 on goal, with just 2 corners, fits a model of an away side that struck first and then played largely without the ball, relying on organisation and compactness rather than sustained attacking phases.
The 1-1 final score therefore mirrors the tactical balance: Anderlecht’s early efficiency and disciplined 4-4-2 block versus Hammarby’s structured, ball-dominant 4-3-3 that eventually leveraged a numerical advantage and bench impact to restore parity late on.
Related News

Celje vs Red Bull Salzburg Predicted Lineups and Team News

Anderlecht vs Red Bull Salzburg Predicted Lineups and Team News
NEC Nijmegen vs Benfica Predicted Lineups: Team News for UEFA Europa League
Plzen vs Benfica Predicted Lineups: Team News Ahead of UEFA Europa League
Benfica vs Lech Poznan Predicted Lineups and Team News

Benfica vs OFI: Predicted Lineups and Team News for UEFA Europa League