
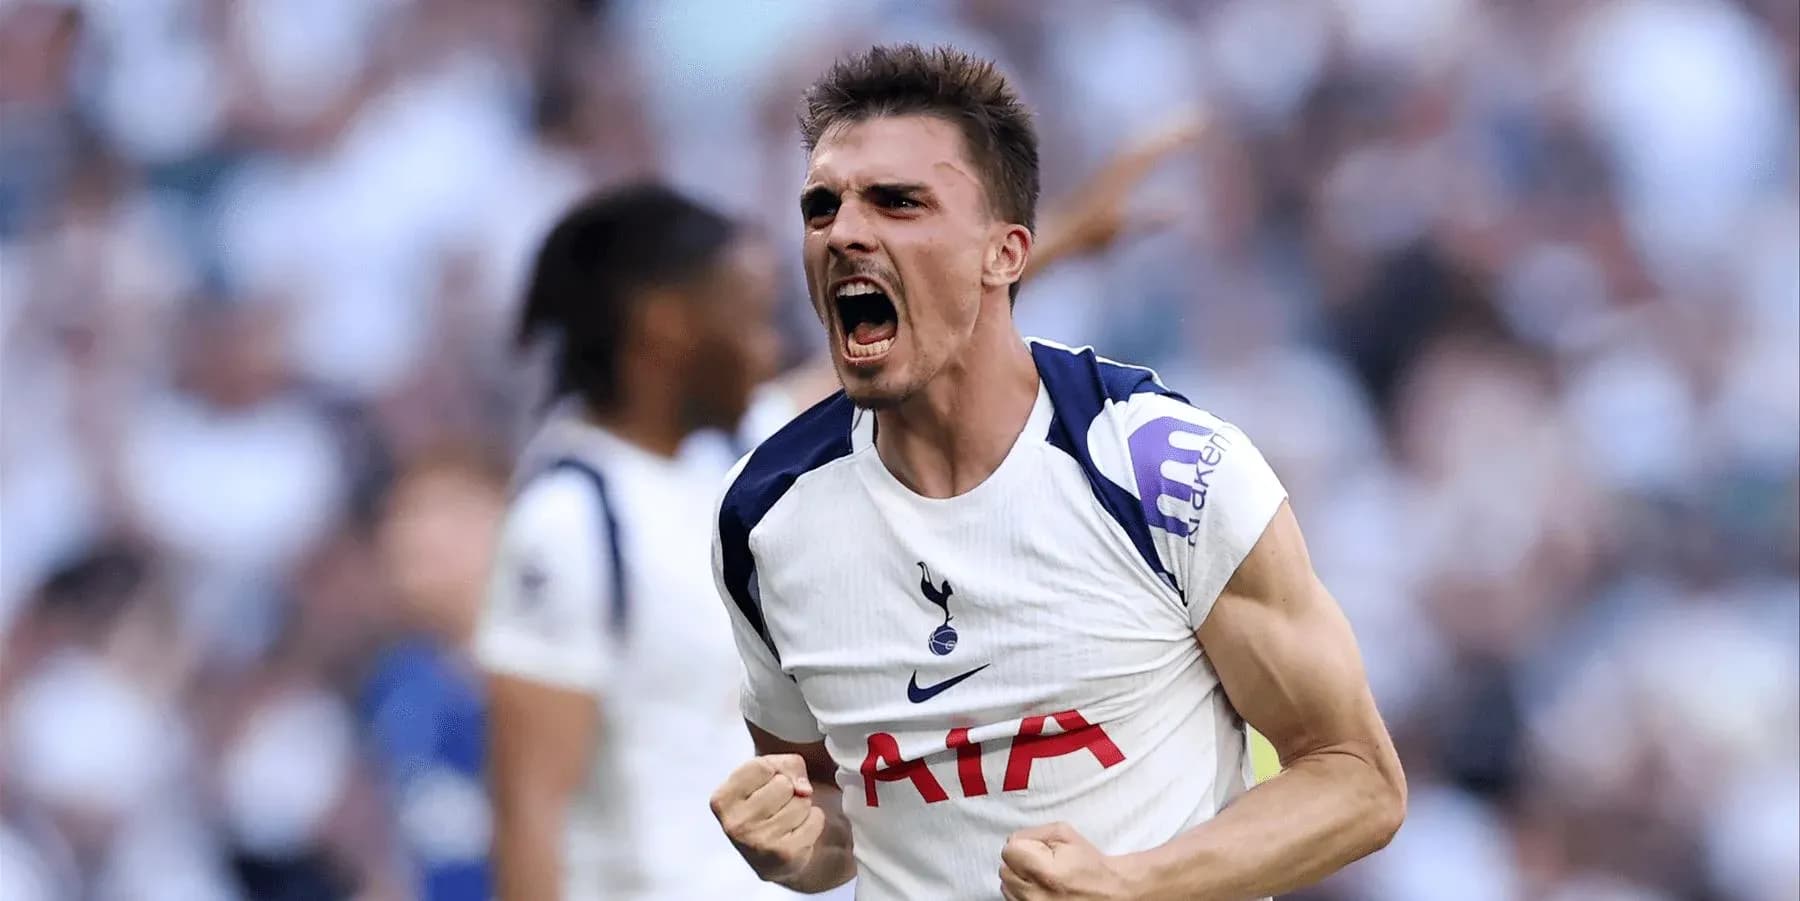
Tottenham’s Tactical Control in 1-0 Win Over Everton
Tottenham’s 1-0 win over Everton at Tottenham Hotspur Stadium was a control-heavy, structurally disciplined performance built from a clear 4-2-3-1 framework on both sides. Roberto De Zerbi’s team used their double pivot and aggressive full-backs to generate volume and territory, while Leighton Baines’ Everton tried to mirror the shape but were largely forced into a reactive, lower-tempo game, creating too little to threaten the outcome.
Tottenham’s 4-2-3-1 was anchored by the Bentancur–João Palhinha axis in front of the back four. With P. Porro and D. Udogie pushing high and wide, Spurs often morphed into a 2-3-5 in settled possession: centre-backs K. Danso and M. van de Ven held a broad rest-defence platform, the double pivot staggered behind the line of three attacking midfielders, and Richarlison occupied the last line centrally. This structure underpinned their 20 total shots, 15 from inside the box, and a near 1.00 xG, reflecting repeated access to advanced zones rather than speculative efforts.
The decisive moment came from that midfield platform. At 43', J. Palhinha stepped into space from his holding role and finished what was Tottenham’s clearest pattern of the half: circulation through the double pivot, a collapse of Everton’s first line, and a late-arriving midfielder exploiting the half-space. With no assist credited, the goal still embodied Spurs’ territorial superiority more than any individual combination. It also locked in a half-time picture that matched the data: Tottenham ahead 1-0, with Everton struggling to progress cleanly.
Out of Possession
Out of possession, Tottenham were proactive but not reckless. The front four led the press, with Richarlison curving runs to screen Everton’s pivots, while M. Tel and C. Gallagher (before later substitutions) squeezed the half-spaces. Behind them, Bentancur and Palhinha compressed vertically, ensuring that when Everton did break the first line they were quickly met by contact. The 15 fouls committed by Tottenham show a willingness to disrupt transitions, but the card profile suggests control: only two yellows, one for Simulation (Pape Matar Sarr at 80') and one for Handball (João Palhinha at 87'), rather than repeated late tackles.
Everton's Performance
Everton’s own 4-2-3-1, with J. Garner and T. Iroegbunam as the double pivot and K. Dewsbury-Hall, I. Ndiaye and M. Rohl behind T. Barry, never truly established a stable possession game despite matching Tottenham’s 50% share of the ball. Their 377 passes to Tottenham’s 373 and an 83% pass completion rate indicate they could circulate, but mostly in less threatening zones. The key contrast lies in shot volume and quality: only 9 total shots, 7 inside the box, and just 0.34 xG. They reached the final third sporadically but lacked the mechanisms to turn that into repeated, high-quality chances.
Defensive Strategy
Defensively, Everton tried to keep a compact 4-4-2 out of possession, with the No. 10 stepping up alongside Barry to press Tottenham’s centre-backs. Yet Spurs’ use of the double pivot and full-backs stretched that structure horizontally. The Toffees’ 18 fouls and two yellow cards — Jake O'Brien for Foul at 13', James Tarkowski for Foul at 89' — underline how often they were forced into last-ditch interventions as Tottenham played through or around the first line. Their back four, particularly Tarkowski and M. Keane, had to defend a high number of crosses and entries, which is reflected in Spurs’ 9 blocked shots and 7 corner kicks.
In goal, A. Kinsky (Tottenham) was largely protected by the defensive block, facing only 1 shot on target and making 1 save. The negative goals prevented figure (-0.32) suggests the single Everton effort carried modest xG that he might have been expected to save, but the broader point is that Everton never sustained pressure. At the other end, J. Pickford (Everton) also registered 1 save despite Tottenham’s 2 shots on goal, a hint that finishing rather than goalkeeping variance kept the scoreline at 1-0. The identical goals prevented values (-0.32 for each side) reinforce that this match was decided more by chance creation volume and structure than by standout goalkeeping.
Substitutions
Substitutions in the second half were primarily tactical fine-tuning rather than system overhauls. De Zerbi’s changes — R. Kolo Muani (IN) for Richarlison (OUT) and P. M. Sarr (IN) for M. Tel (OUT) at 73', followed by A. Gray (IN) for R. Bentancur (OUT) and J. Maddison (IN) for C. Gallagher (OUT) at 82', and finally R. Dragusin (IN) for D. Udogie (OUT) at 90' — gradually shifted Tottenham from an aggressive 4-2-3-1 into a more conservative, game-management posture. The introduction of Dragusin for a full-back in the final minute pointed to a back-five mindset to protect the lead.
Baines’ triple wave at 84' — Beto (IN) for T. Barry (OUT), C. Alcaraz (IN) for K. Dewsbury-Hall (OUT), and S. Coleman (IN) for T. Iroegbunam (OUT) — was an attempt to inject directness and experience, having already brought on T. George for M. Rohl and H. Armstrong for J. O'Brien at 62'. However, these moves did not materially change the underlying pattern: Everton remained low-volume in chance creation, and Tottenham’s rest defence absorbed the late pressure without conceding dangerous shots.
Statistical Overview
Statistically, the match reads as a controlled home win. Tottenham’s 20 shots to Everton’s 9, combined with a 0.99 vs 0.34 xG split, underline a clear attacking edge despite identical possession (50%-50%). Both teams produced 7 corners, but Spurs turned theirs into sustained pressure and blocked efforts, while Everton’s set pieces did not translate into meaningful attempts on target. Passing numbers were almost symmetrical — 373 passes, 317 accurate (85%) for Tottenham; 377 passes, 314 accurate (83%) for Everton — yet Spurs used their circulation to climb the pitch, whereas Everton’s was often sterile.
Discipline was balanced numerically — two yellow cards each, four in total — but the contexts differ. Everton’s cautions (both for Foul) came as they tried to contain Tottenham’s attacks, while Spurs’ yellows were tied to Simulation and Handball, reflecting game-state management more than structural strain. With both goalkeepers at -0.32 goals prevented and only 1 save each, the statistical verdict is clear: Tottenham’s superior structure, shot volume, and midfield control deservedly delivered a 1-0 result that the raw scoreline arguably understates.
Related News
Bournemouth vs Liverpool Prediction: Key Stats and Betting Tips
Tottenham vs Aston Villa Predicted Lineups: Team News for Premier League Clash
Brighton vs Arsenal: Premier League Clash Preview
Manchester City vs Sunderland: Premier League Clash Preview
Tottenham vs Aston Villa: Early Relegation Battle
Brentford vs Chelsea Predicted Lineups: Team News and Match Insights