

Fulham's Tactical Masterclass in 2-0 Victory Over Newcastle
Fulham’s 2-0 win over Newcastle at Craven Cottage was a controlled, structurally coherent performance built on a compact 4-2-3-1 and intelligent use of territory rather than sterile possession. Despite having only 46% of the ball, Fulham generated 21 shots to Newcastle’s 7 and a clear xG edge of 1.69 to 0.25, turning a relatively even passing contest into a decisive territorial and chance-creation advantage.
Formation and Structure
Marco Silva’s 4-2-3-1 was anchored by S. Berge and A. Iwobi as the double pivot, with O. Bobb, E. Smith Rowe and Kevin supporting Rodrigo Muniz. The shape out of possession was a tight 4-4-1-1, with the wingers narrowing to block central lanes and the full-backs, T. Castagne and Antonee Robinson, stepping aggressively to Newcastle’s wing-backs. This allowed Fulham to concede possession zones deliberately in deeper Newcastle build-up while springing forward once the ball was forced wide or backwards.
Newcastle’s 3-5-2 under Eddie Howe, with L. Hall and J. Murphy as the wide midfielders, aimed to control the ball and stretch Fulham horizontally. They succeeded in circulating possession (490 passes at 87% accuracy versus Fulham’s 415 at 82%), but the structure was largely sterile: Bruno Guimaraes, J. Willock and J. Ramsey saw plenty of touches without being able to punch through Fulham’s compact second line. The three centre-backs – M. Thiaw, S. Botman and D. Burn – often recycled laterally, but vertical access into W. Osula and N. Woltemade was limited and usually under pressure.
First Goal and Tactical Approach
The first goal on 20 minutes, scored by I. Diop from a Fulham set-piece situation, underlined the home side’s focus on restarts and second balls. With six corner kicks across the match and 10 shots inside the box, Fulham repeatedly turned dead-ball situations and wide entries into penalty-area pressure. Diop’s involvement as a scoring threat also reflected how Fulham’s centre-backs were encouraged to attack zones aggressively when the ball was delivered into the area.
Out of possession, Fulham balanced aggression with control. They committed 13 fouls to Newcastle’s 6, but these were largely tactical interventions to break rhythm rather than desperate last-ditch actions. The late yellow cards for Antonee Robinson and Jorge Cuenca (both for “Foul”) came with the game state at 2-0, illustrating Fulham’s willingness to disrupt any potential Newcastle momentum in the closing stages.
Goalkeeping Performance
In goal, B. Leno (Fulham) was rarely overworked, needing only 2 saves, which aligns with Newcastle’s low xG of 0.25 and just 2 shots on target. His main contribution was positional security behind a back four that limited clear looks and blocked 2 Newcastle shots. At the other end, N. Pope (Newcastle) made 4 saves, but the underlying numbers show that Fulham consistently engineered higher-quality chances; Newcastle’s negative goals prevented figure combined with Fulham’s 6 shots on target and 1.69 xG suggests Pope was beaten by the weight and quality of opportunities rather than sheer volume alone.
Second Half Substitutions
The second half substitutions sharpened Fulham’s control of zones rather than altering the basic structure. T. Cairney’s introduction for Kevin at 60 minutes added composure between the lines and culminated in his 80th-minute goal, assisted by H. Wilson. Cairney’s ability to receive under pressure and connect short combinations in the right half-space turned Newcastle’s midfield into chasers, dragging their central trio out of shape. The triple change on 72 minutes – R. Jimenez for Rodrigo Muniz, H. Wilson for O. Bobb, and J. King for E. Smith Rowe – refreshed Fulham’s front four without changing the 4-2-3-1 template: Jimenez offered more back-to-goal play, while Wilson’s delivery and King’s mobility kept Newcastle’s back line pinned.
Newcastle’s own substitutions, including H. Barnes for J. Murphy at the break and later introductions of Y. Wissa and A. Elanga, were attempts to inject direct running and 1v1 threat. However, Fulham’s structure denied them the transition moments they needed. Newcastle finished with 6 corners and 4 shots inside the box, but the majority of their play remained in front of Fulham’s block, with limited penetration and almost no sustained occupation of the central zone between Fulham’s midfield and defence.
Statistical Overview
Statistically, the match underlines a tactical story of efficiency and control without dominance of the ball. Fulham, with fewer passes and lower possession, produced three times as many shots and more than six times Newcastle’s xG. Their 6 blocked shots highlight how Newcastle’s back line was repeatedly forced into last-ditch interventions, whereas Fulham’s defensive line, while solid, did not have to absorb the same volume of pressure.
The passing data also reflects the different intentions: Newcastle’s higher accuracy and volume point to a possession-first approach that rarely translated into threatening positions. Fulham’s slightly lower pass accuracy is consistent with a more vertical, risk-tolerant plan that sought to progress quickly once the press was broken or a turnover was forced. The even split in yellow cards (2-2) contrasts with the shot and xG disparity, reinforcing that Fulham’s greater foul count was part of a controlled, tactical approach rather than a sign of defensive crisis.
Conclusion
Overall, Fulham’s 2-0 victory was a product of structural clarity: a disciplined mid-block, aggressive use of full-backs, and a front four configured to turn limited possession into high-quality chances, all while keeping Newcastle’s more possession-heavy 3-5-2 at arm’s length.
Related News
Brighton vs Arsenal Predicted Lineups: Team News and Match Insights
Manchester City vs Sunderland Predicted Lineups: Team News and Match Analysis
Bournemouth vs Liverpool Prediction: Key Stats and Betting Tips
Tottenham vs Aston Villa Predicted Lineups: Team News for Premier League Clash
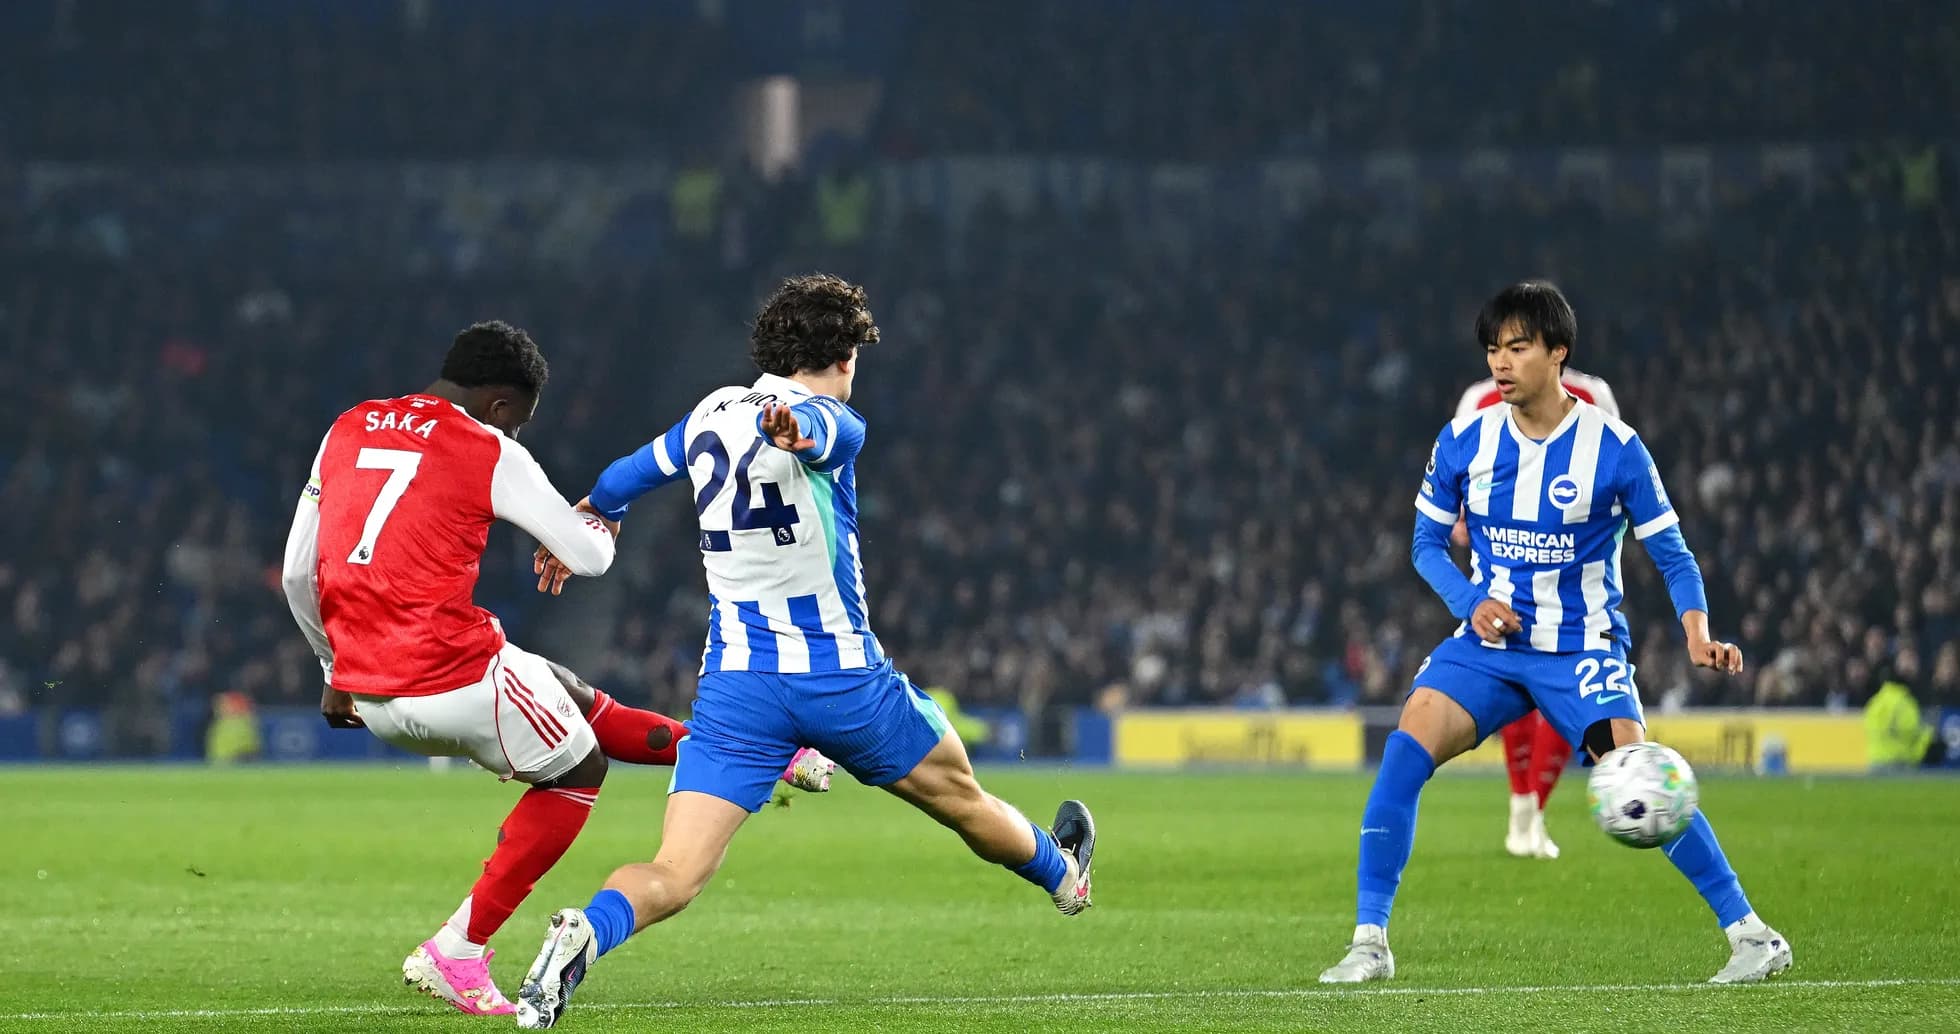
Brighton vs Arsenal: Premier League Clash Preview
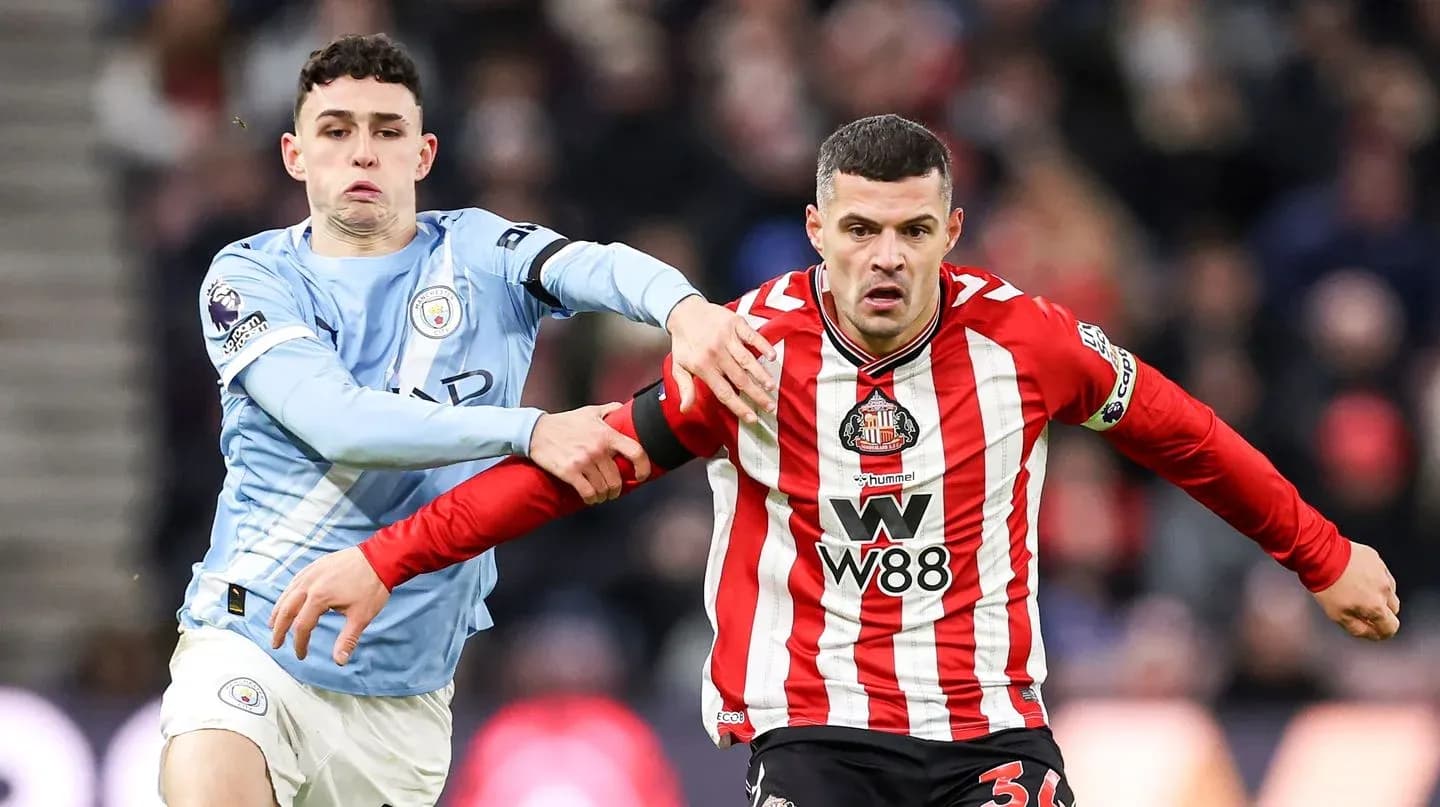
Manchester City vs Sunderland: Premier League Clash Preview